
Here’s some exciting news for those using a UniFi Network Video Recorder (UNVR) from Ubiquiti: The company today announced the release candidate of UniFi Protect 7.3 with major improvements that, among other things, ease the pain of storage costs.
The official 7.3 version is set to come out as soon as next week.
If you’re new, UniFi Protect is an app that runs on UniFi OS and turns a UniFi console into a UNVR that hosts multiple security cameras, forming a robust surveillance system.
Let’s find out what UniFi Protect 7.3 has in store.
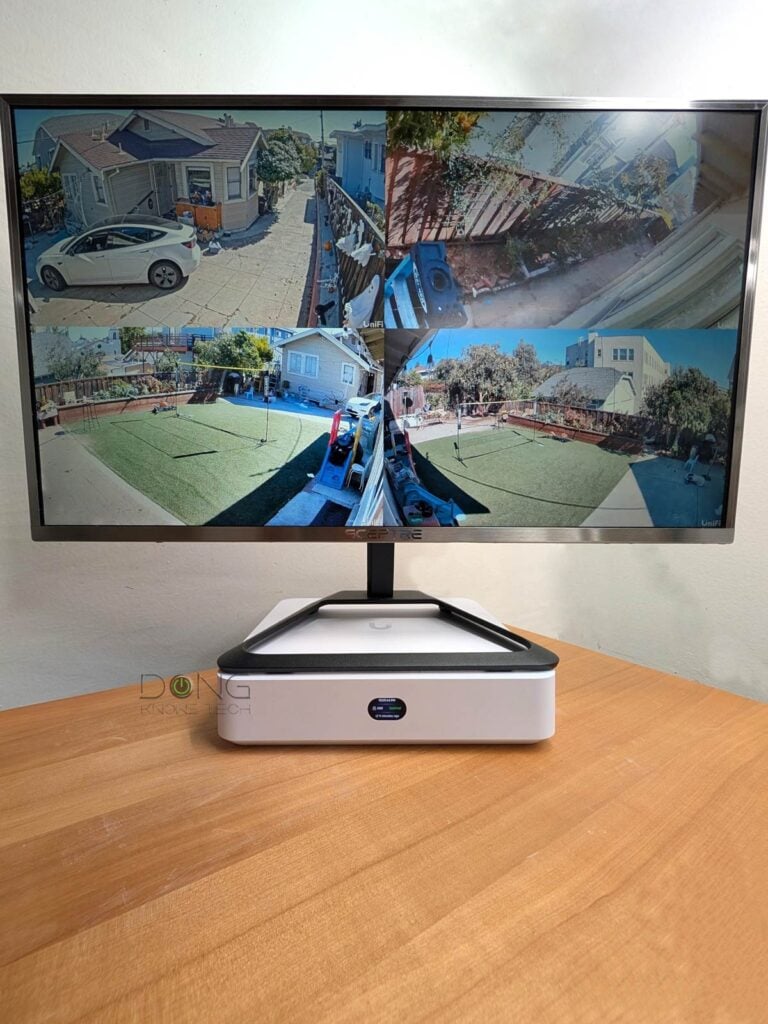
Ubiquiti UniFi Protect 7.3: Superior storage management and video encoding
In recent years, the cost of digital storage has increased several times due to the massive memory demands of the artificial intelligence industry. As a consequence, storing a large volume of surveillance recordings can be very expensive.
To be clear, Ubiquiti doesn’t offer discounts on new hard drives, SSDs, or SD cards with the release of its UniFi Protect 7.3—that’s still at the mercy of the respective hardware vendors and likely will remain so until the AI bubble bursts.
Instead, UniFi Protect 7.3 focuses on reducing the storage required for its recordings, with breakthroughs in storage efficiency that help users store more recordings with the same amount of storage. Significantly more, supposedly.


Right: The new Video Wall Time Machine enables precise data filtering and convenient recording management for one or multiple cameras based on user-defined time blocks.
Specifically, the new version introduces a storage budgeting feature that allows the admin user to allocate storage between high-quality and low-quality continuous recording for specific or all cameras, depending on real-world needs. Most importantly, it also supports a new Super Encoding method, which reduces storage usage by “up to 50%” for all UniFi cameras.
Ubiquiti doesn’t disclose any details of Super Encoding. Instead, it says users can now deploy a robust surveillance system with “just a fraction of the traditional capacity needed” while maintaining the number of recordings and quality they need.
Additionally, UniFi Protect 7.3 adds a new Video Wall Time Machine feature to the dashboard. This redesigned management system makes recordings easier to access through improved identification techniques that automatically train the system for greater precision over time. The Time Machine also lets users quickly manage recordings from one or multiple cameras for a user-defined time block.
And there’s more!
Ubiquiti UniFi Protect 7.3: Remote adoption via Teleport VPN
Indeed! UniFi Protect 7.3 also helps significantly cut costs by reducing the number of required UNVRs for those who need to monitor multiple locations.
Instead of multiple UNVRs—one at each location—this new version allows a single UNVR to adopt and manage cameras across multiple sites via Ubiquiti’s Teleport VPN. In other words, at the remote location, each camera can act as a VPN client to connect to a destination UNVR over the Internet, regardless of distance.
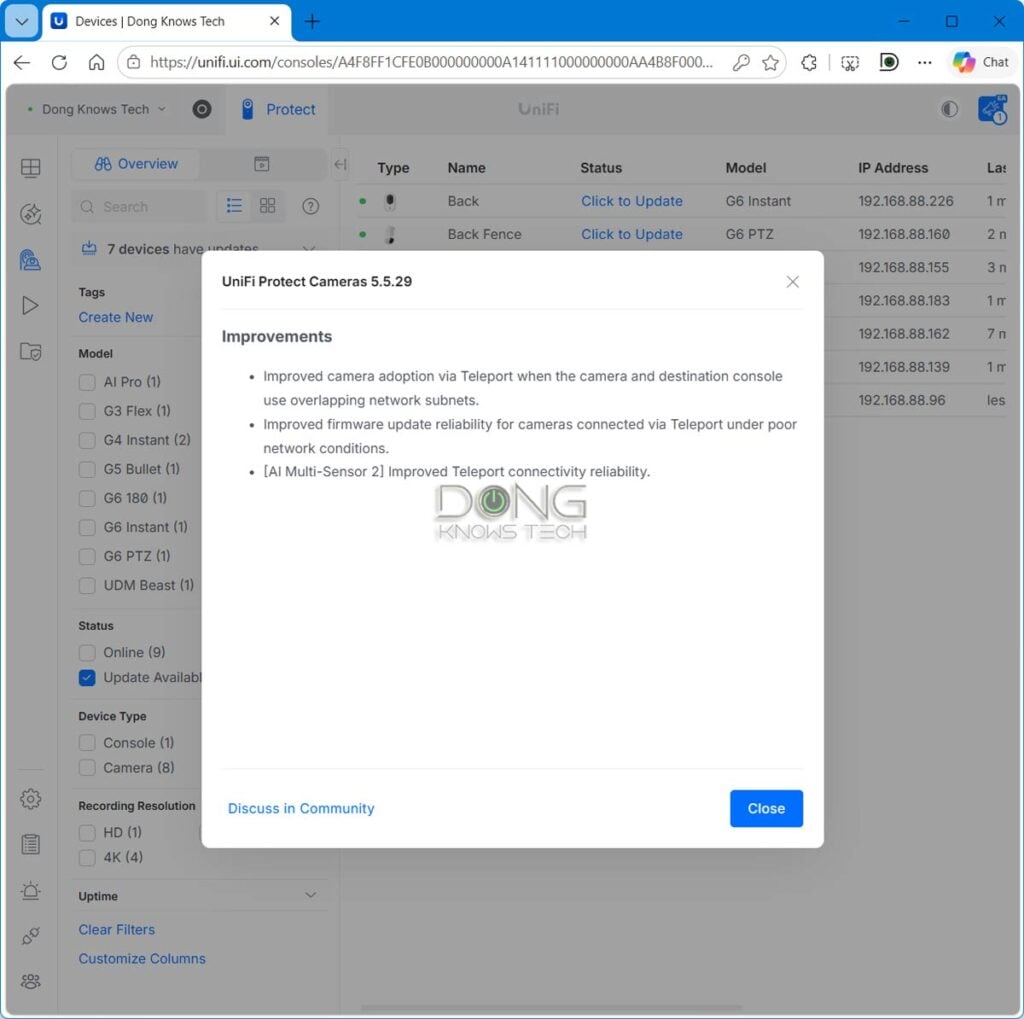
For example, if you already have a UniFi Protect UNVR at one location, such as your main residence, and now want to include cameras mounted at another remote location, such as your vacation home, in the same surveillance system, UniFi Protect 7.3 makes that possible.
Teleport-based UniFi camera adoption has a few relatively easy-to-meet requirements, including:
- The network where the UNVR resides must use a UniFi Cloud Gateway (UCG) as the primary router. The UNVR can be either integrated into the UCG or run as a separate standalone unit connected to it, such as the UNVR Instant. After that:
- The UCG must run UniFi OS 6.0.9 or later with Teleport enabled. (For stable operation, it’s recommended that this router has a static WAN IP for its broadband connection, though this is not a must.)
- The UCG must use a UI login account.
- The UNVR must run UniFi Protect version 7.3.68 or later.
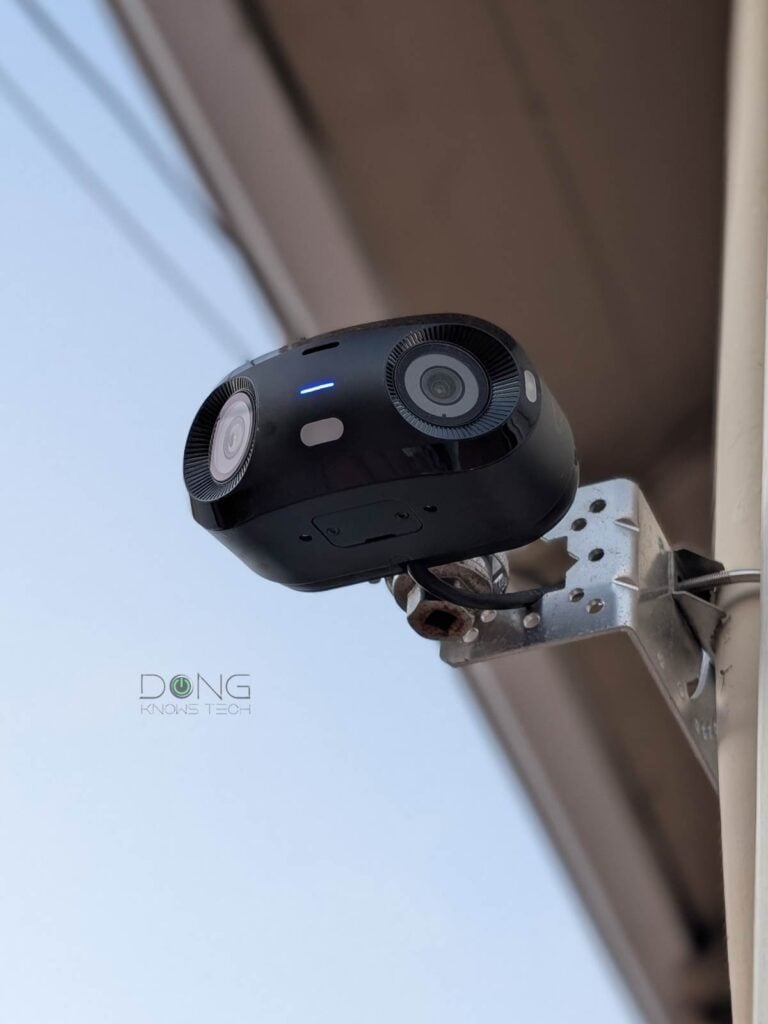
- The cameras at the remote location must be part of the G6 Series (excluding the Edge lineup), the AI series, or the Doorbell Lite, and run firmware version 5.5.27 or later. (Since all existing cameras run older firmware, you’ll generally need to update them first, then reset them to factory defaults before deploying them at the remote location.)
- Good Internet connections at both locations. The remote location doesn’t need a UniFi Cloud Gateway as a router, but it must use one that supports VPN connections, which all routers do by default.
After that, adopting a remote camera is a simple process via the UniFi Protect mobile app (version 3.12 or later for iOS, or version 3.9 or later for Android). The steps are similar to when you set up the camera within a local network, specifically:
- At the remote location, connect the mobile device (such as your smartphone) to the same local network as the unadopted camera via Wi-Fi, open the UniFi Protect mobile app, and log in with an admin UI account of the destination UNVR.
- Get the camera ready and wait for it to be detected via the UniFi Protect mobile app:
- If it is a PoE camera, connect it via a network cable.
- If it’s a Wi-Fi camera, power it on and hold the mobile device near it.
- When the camera is detected in the UniFi Protect app, select the UNVR of your choice (if you have more than one), then tap “Adopt”.
And that’s it! From then on, the camera will work as if it were on the same local network as the UNVR—that’s generally how VPN works.
As always, keep in mind that this camera’s performance depends on the quality of the Internet connections at the remote location and where the UNVR is. Generally, each camera needs up to 50Mbps of upload speed to deliver 4K video quality, and each UniFi Cloud Gateway, like any router, can handle a limited number of VPN clients, depending on the model.
If you’re new to UniFi Protect, below is the rating from my previous in-depth review.
Ubiquiti UniFi Protect Surveillance System's Rating
Pros
Robust and reliable, with lots of advanced surveillance features, yet plug-and-play for the most part
Well-thought-out and responsive web UI and Protect mobile app with excellent recording, monitoring, viewing, sharing, and backup features
Lots of camera and UNVR options (standalone and integrated within UniFi "routers") with excellent hardware design and quality at competitive pricing; subscription-free
Supports ONVIF 3rd-party cameras and NVRs
Cons
No solar-powered battery-operated camera options
Most consumer-grade UNVRs only support a relatively low number of 4K cameras
No easy way (impossible in many cases) to migrate recordings of one UNVR to another; many useful features require a UI account
The takeaway
I have used UniFi Protect for a couple of years and found it to be the best surveillance system, as expressed in my review, which was first published over a year ago.
Since then, this app has improved by leaps and bounds, and this version 7.3 is a testament to Ubiquiti’s commitment to making it even better. By the way, I upgraded my system to the new RC version (currently at build 7.3.68), and the whole process took less than a few minutes, including updating all the cameras to their latest firmware.
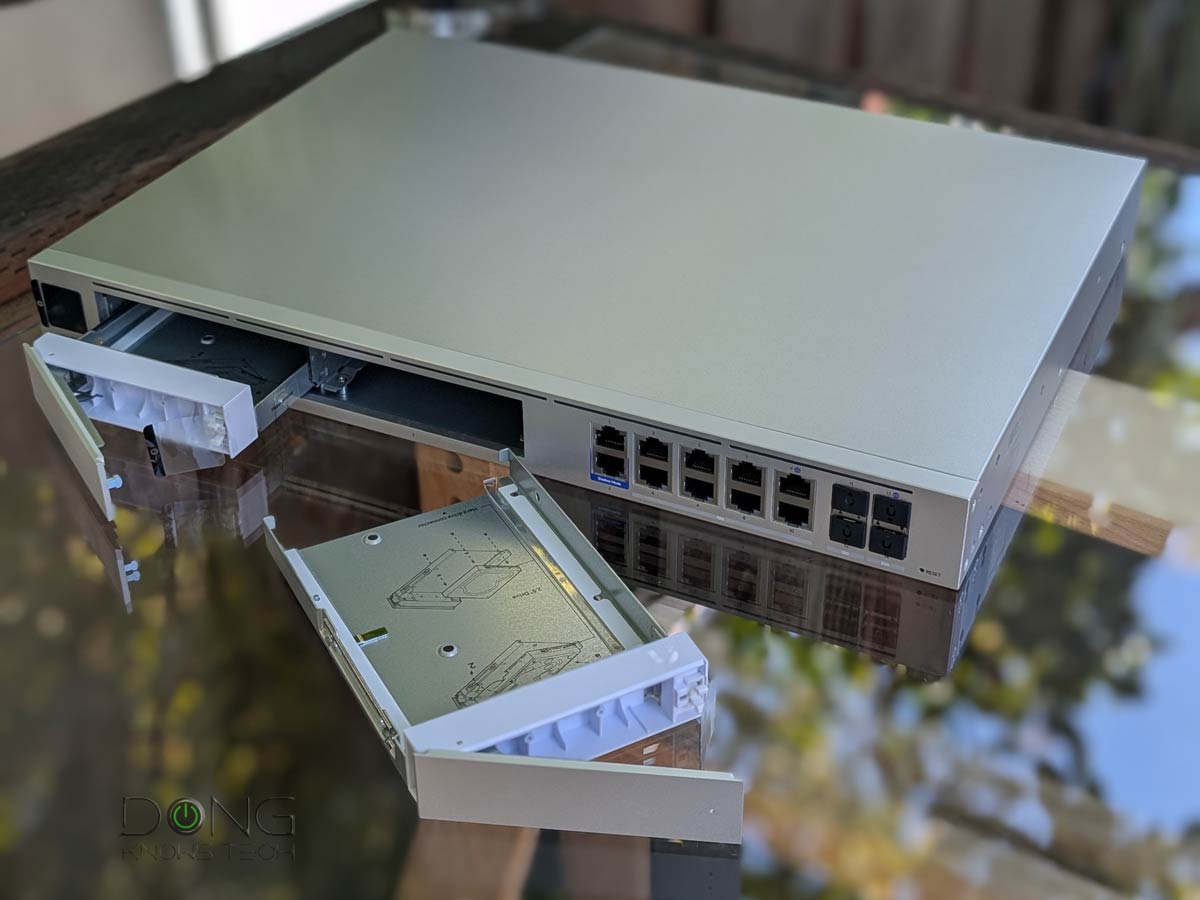
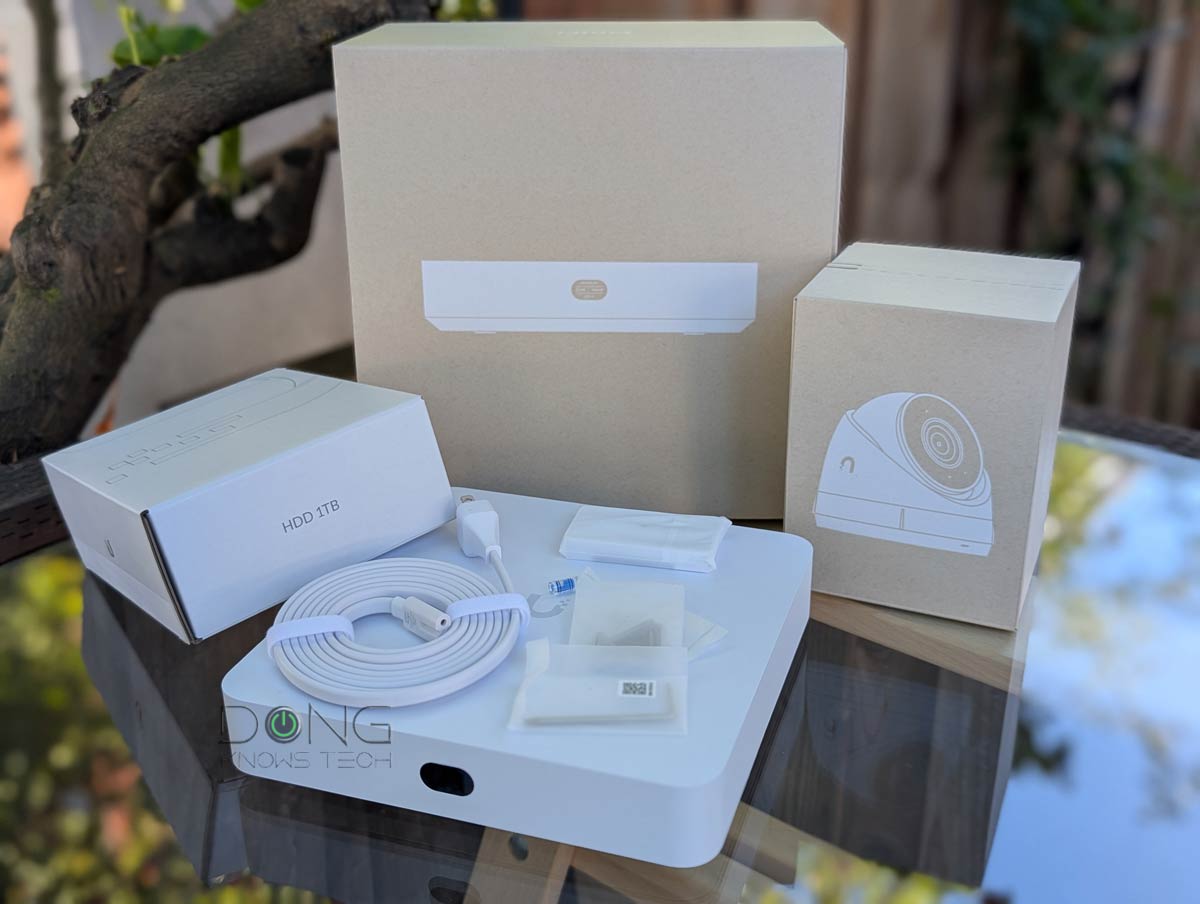
Thinking about putting eyes and ears around your properties? Give UniFi Protect a try today. If you already have a UniFi Cloud Gateway as your primary router, UniFi Protect is likely already included. If not, below are the top five UNVRs, standalone or integrated within a UniFi Cloud Gateway, to consider for the home. Among those, if you want the absolute best right now, spoil yourself with the UniFi Dream Machine Beast.



Switched to fiber. Free wifi 7 router connected to Asus nest network. AI said to eliminate the wifi 7 router for security reasons. Speed 300 went from 250 to 300 down up at 250
You can use UniFi Protect with your existing ASUS hardware via a standalone unit, like the Instant.